Wood Fence Maintenance in Alaska: A Winter Snow Load and Freeze Damage Guide
Wood fence maintenance in Alaska is mostly a fight against two things: snow load pressing on panels for months, and freeze-thaw cycles that rot posts and heave footings. A cedar fence that would coast for years in a milder state needs a specific routine here. This guide walks you through wood fence winter maintenance step by step, from fall prep to spring inspection, so you know what to do yourself, what to budget for, and when the smart move is calling a fence company instead of buying another gallon of stain.
This is written for the person planning a budget, whether that is a homeowner with one backyard fence or a property manager tracking wood fencing across several Anchorage sites. The steps are the same. The difference is scale.
Why Alaska Winters Are Hard on Wood Fences
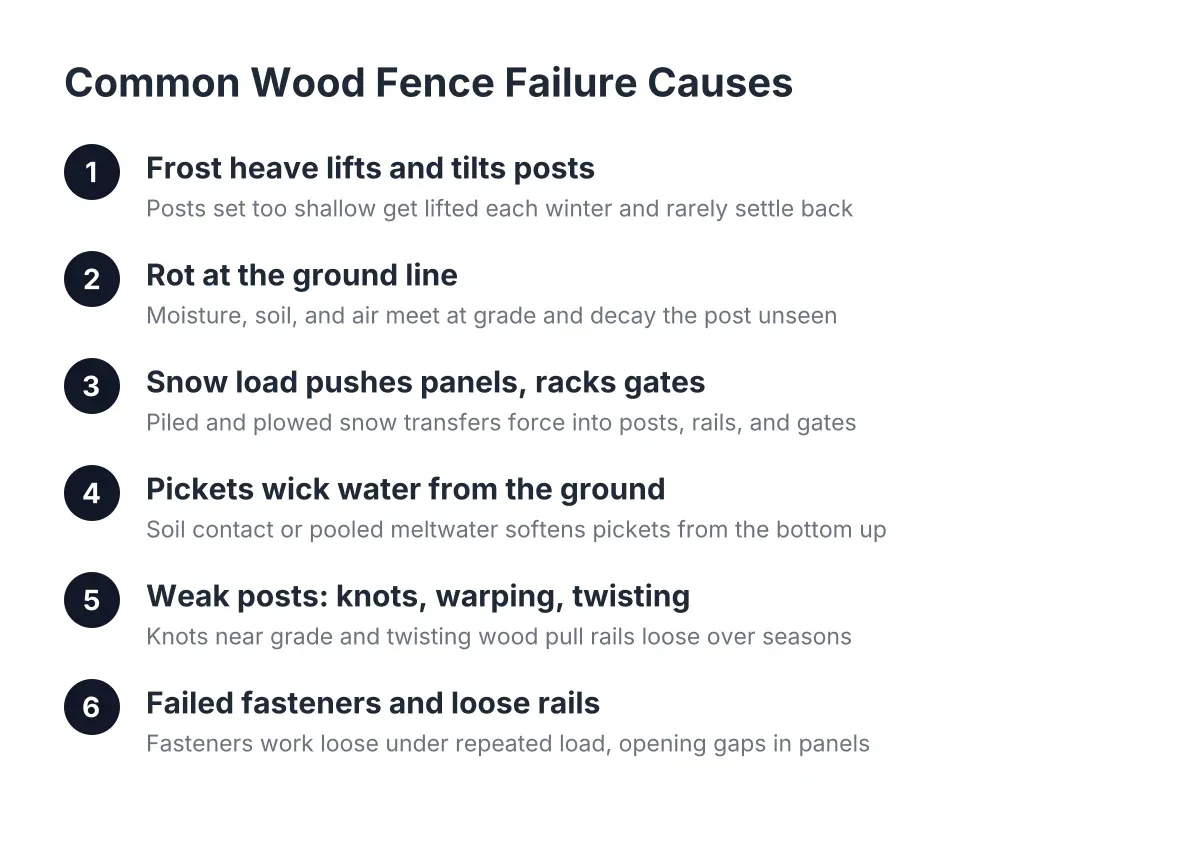
Two forces do most of the damage. First, snow load. Snow piles against fence panels and gates for months, and in Anchorage it often gets compounded by plow berms and roof shed. That sustained sideways pressure loosens posts, racks panels out of square, and tears gate hinges.
Second, freeze-thaw movement. Water gets into the soil around fence posts, freezes, expands, and pushes. Over several winters, frost heave can lift a post or tilt it off plumb. Water also gets into the wood itself. Pickets and rails that stay wet going into freeze-up crack and check as that moisture expands.
The common failure point surprises people: posts, not pickets. A wood fence can have well-stained panels and still sag because the posts rotted at the ground line, where moisture sits against the wood. That is why the maintenance steps below spend as much time at ground level as they do on the boards you can see.
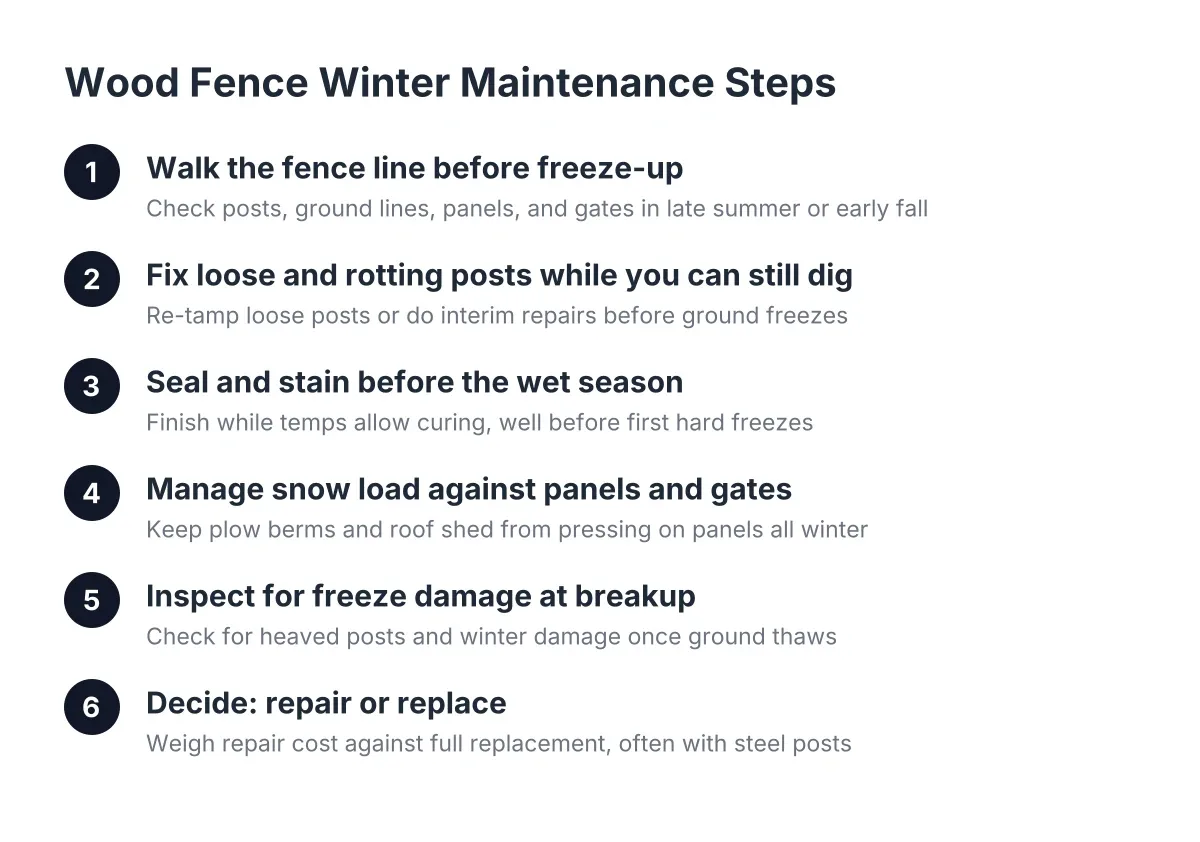
Step 1: Walk the Fence Line Before Freeze-Up
Do a full walk of the fence line in late summer or early fall, before the ground freezes. Once frost sets in, repairs that involve digging are off the table until breakup, so this walk is your last chance to fix structural problems before winter locks them in.
Check each post by grabbing the top and pushing. Any movement means the post has loosened in its footing or rotted below grade. Look at the ground line of every post for soft, dark, or spongy wood. Probe with a screwdriver; if it sinks in, the post is rotting.
Also note:
- Panels that lean or have pulled away from posts
- Gates that drag, sag, or no longer latch cleanly
- Pickets with cracks, cupping, or loose nails
- Low spots along the fence line where water pools
- Soil that has settled or washed away from footings
For a property manager, this walk is worth standardizing. Suppose you manage three apartment sites with wood privacy fence around the dumpster enclosures and back lot lines. A one-page fall checklist per site, filled out by maintenance staff in September, turns surprise spring fence replacement into a planned line item you can bid out over the winter.
Step 2: Fix Loose and Rotting Posts While You Can Still Dig
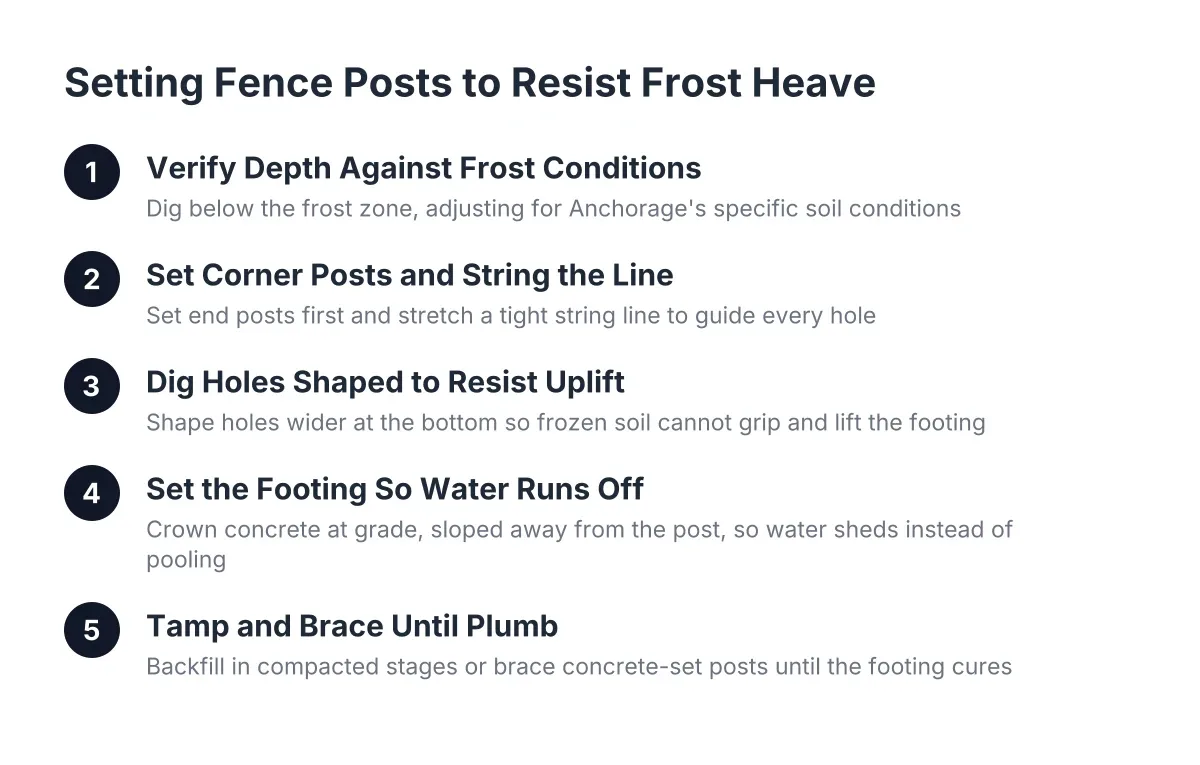
Handle post problems first, because a failed post takes the panels down with it. In Anchorage, footings for permanent structures run deep; the municipal building code amendment sets minimum exterior footing depth at 42 inches below finished grade, according to PermitsGuide.com. That frost-protection logic is why fence posts here get set far deeper than national how-to videos suggest, and why post repair is the expensive part of wood fence work.
A loose post that is still sound can sometimes be re-tamped. Compaction matters more than most people think; inadequate tamping is the main reason posts work loose under wind, water, and snow pressure. A rotted post is a different problem. The instinct is to rip out the post and its concrete footing and start over, but that is not always the practical move. An interim repair that preserves the existing footing can keep the fence standing and standing straight, and that repair cost effectively applies toward a future full replacement, often with steel posts that resist the warping and rot wood posts are prone to.
One caution on backfill. Concrete poured tight around a wood post can trap moisture against the wood and speed up rot compared to a well-draining material. If a contractor quotes your repair, ask how they plan to set and backfill the posts and why. Their answer tells you whether they build for Alaska ground or follow a Lower 48 habit.
This is the step where DIY has real limits. Resetting one loose post on flat ground is a reasonable weekend project. Replacing several rotted posts along a frost-heaved line, or anything involving a gate post, is work where a fence repair crew earns its price in straightness and lifespan.
Step 3: Seal and Stain Before the Wet Season
Wood that goes into winter dry survives winter better. Stain or seal the fence while daytime temperatures still allow the product to cure, which in Anchorage means getting it done well before the first hard freezes, not in October.
How often does wood fence maintenance and staining in winter conditions occur in Alaska? Plan on inspecting every fall and spring, and restaining a cedar fence every few years depending on sun exposure and how fast the finish wears. South-facing runs fade faster; shaded, damp runs rot faster. Walk the fence and let the wood tell you, rather than following a fixed national schedule.
Pay extra attention to end grain: the tops of pickets and posts, and any cut edges. End grain wicks water fastest. Post caps are cheap insurance here. In addition, check whether your fence has a rot board, a pressure-treated board running along the bottom of the panels. It keeps cedar pickets from wicking moisture up out of pooled water and snowmelt, and it extends the life of the whole fence considerably. If your fence lacks one, adding rot boards is a worthwhile upgrade to ask about during any fence repair visit.
Step 4: Manage Snow Load Against Panels and Gates
Through winter, the job shifts from repair to load management. You cannot stop it from snowing, but you can control where the snow sits.
- Do not blow or shovel snow against the fence. Pick a dump zone away from panels.
- Keep plow contractors briefed. One season of berms pushed into a privacy fence can rack an entire run.
- Shovel out gates after major storms so hinges and latches are not forced against packed snow.
- After heavy, wet snowfalls, knock accumulation off horizontal rails where you can reach safely.
For commercial sites, this is a contract detail, not a chore. If you hire snow removal across a portfolio, write fence setbacks into the scope. A hypothetical example: say a storage facility has a wood privacy fence screening the back lot, and the plow operator stacks the lot's snow against it all winter. By April the bottom rails are cracked and three posts lean. That repair bill traces directly to a one-line omission in the snow contract.
Step 5: Inspect for Freeze Damage at Breakup
Spring is when winter presents its invoice. Once the snow melts, walk the line again and compare against your fall notes. You are looking for frost heave and moisture damage specifically:
- Posts that lifted or tilted over the winter. Sight down the fence line; heave shows up as a wave in the top line.
- Footings with new gaps or cracked soil around them.
- Panels knocked out of square by snow pressure.
- Pickets and rails with new cracks, cupping, or peeled finish.
- Gates that no longer swing true, often the first sign a gate post moved.
Minor heave sometimes settles as the ground fully thaws, so give obviously shifted posts a few weeks before paying for repair. Persistent lean means the footing is too shallow, the backfill failed, or the post has rotted, and those need correction before next winter repeats the damage.
One note on scope: if a whole section heaved or the fence borders a property line, slope, or utility corridor, bring in a professional before digging. Diagnosis matters more than labor here, and getting the footing depth wrong just schedules the same failure for next spring.
Wood Fence Winter Maintenance Costs to Plan For
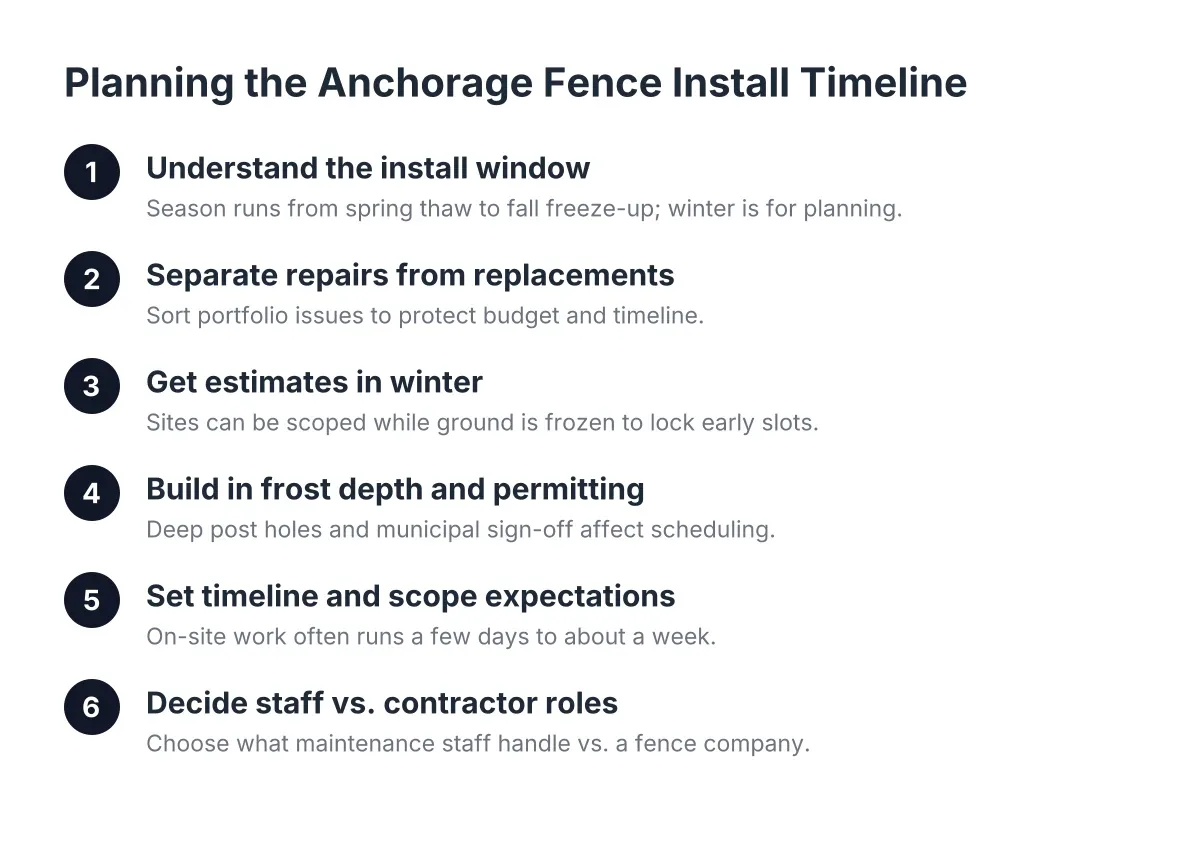
Nobody can give you an honest flat number without seeing the fence, but the cost factors are predictable. Expect pricing to move with the number of posts needing work, footing depth and soil conditions, access for equipment, total linear footage, and whether gates are involved. Post and footing repairs cost more than picket swaps or restaining because they involve digging in ground that fights back.
For context when comparing materials, wood costs more than chain link both to install and to maintain. According to Angi, installing a wood fence typically runs 20% to 30% more than a comparable chain link fence, with chain link averaging $1,300 to $3,540 against $1,790 to $4,560 for wood. HomeGuide puts installed chain link at $10 to $40 per linear foot. An online fence cost calculator can rough out wood fence installation numbers, but treat any national fence installation cost calculator as a starting point only; Anchorage footing depths, short install seasons, and frost-ready construction change the math. A written fence estimate from a local fence company, based on your actual line, is the number to budget against.
Timing matters as much as price in 2026 planning. The dig-and-set season is short, and crews book up. If a spring inspection shows post failures, getting on a schedule early beats calling in August.
When to Repair, and When Replacement Wins
Repair makes sense when the posts are mostly sound and damage is isolated: a few cracked pickets, one leaning post, a sagging gate. Replacement starts winning when rot or heave affects posts along most of the run, because at that point you are paying repair prices for a fence that will keep generating repair calls.
However, there is a middle path worth knowing. Interim post repairs that keep existing footings in place can buy several more winters at modest cost, and old footings left along the line can even help stabilize the surrounding soil. For a property manager phasing capital work across sites, that approach lets you hold a fence through one more budget cycle and then replace on your schedule, not the fence's.
Whichever way you lean, ask any fence company you talk to three things: how deep they set posts and why, how they backfill to handle frost heave, and whether they recommend rot boards and post caps for your layout. Clear, specific answers on those three points separate crews that build for Anchorage from crews that build from a manual.
If your fall walk turned up soft posts, a wavy top line, or a gate that stopped latching, that is the point to get eyes on it. A short site visit and a written fence estimate from Anchorage Fence Co will tell you whether this winter calls for a repair, a phased fix, or a replacement built to handle the next one.
If you need wood fence installation, Anchorage Fence Co can help.
Prefer to talk it through? Call (907) 312-2862 — a quick call is usually the fastest way to get a straight answer for your situation.