How Professional Installation Prevents Post Heave and Frost Damage in Anchorage
If you have already decided to build a wood fence, your biggest risk is not the pickets or the rails. It is the posts. In Anchorage, professional installation prevents fence post heave, frost damage, and the slow lean that turns a straight fence into a repair job within a few winters. This guide walks through each step a crew takes to set posts that stay put, so you know what good work looks like and what to check as the job happens.
This matters most on larger parcels in Knik-Fairview, Wasilla, and Meadow Lakes, where long fence runs multiply any mistake. One bad post in a 60-foot backyard run is annoying. Thirty bad posts across 800 feet of pasture line is a budget problem you will pay for twice.
Why Frost Heave Destroys Fence Posts in Alaska
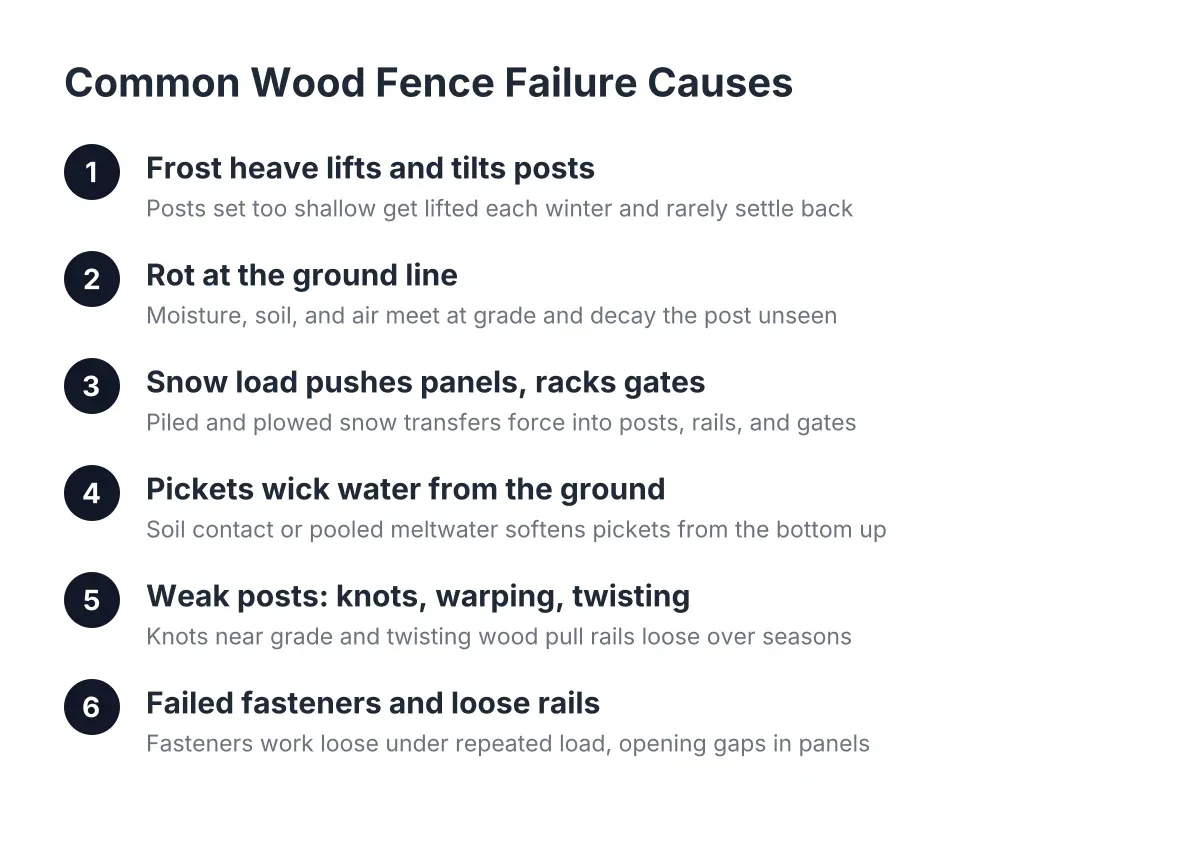
Frost heave happens when water in the soil freezes, expands, and pushes upward against anything buried in it. A post set too shallow, or set with a footing the frozen ground can grip, gets lifted a little each winter. The post does not settle back down in spring. After a few freeze-thaw cycles, it leans, the panels rack, and gates stop latching.
Two installation mistakes cause most of this damage:
- Posts set above the frost zone. If the footing sits in soil that freezes, the ice has something to push against. Deep setting is the first defense.
- Footings shaped so ice can grab them. A footing that is wider at the top than the bottom, or concrete stopped a couple inches below grade with dirt packed on top, gives frost a shelf to lift and a wet pocket to rot the post.
In addition, a post hole backfilled with loose dirt and no real footing is not a shortcut. It is an unacceptable building practice. Wind, snow load, and water movement will loosen that post long before frost even gets its turn.
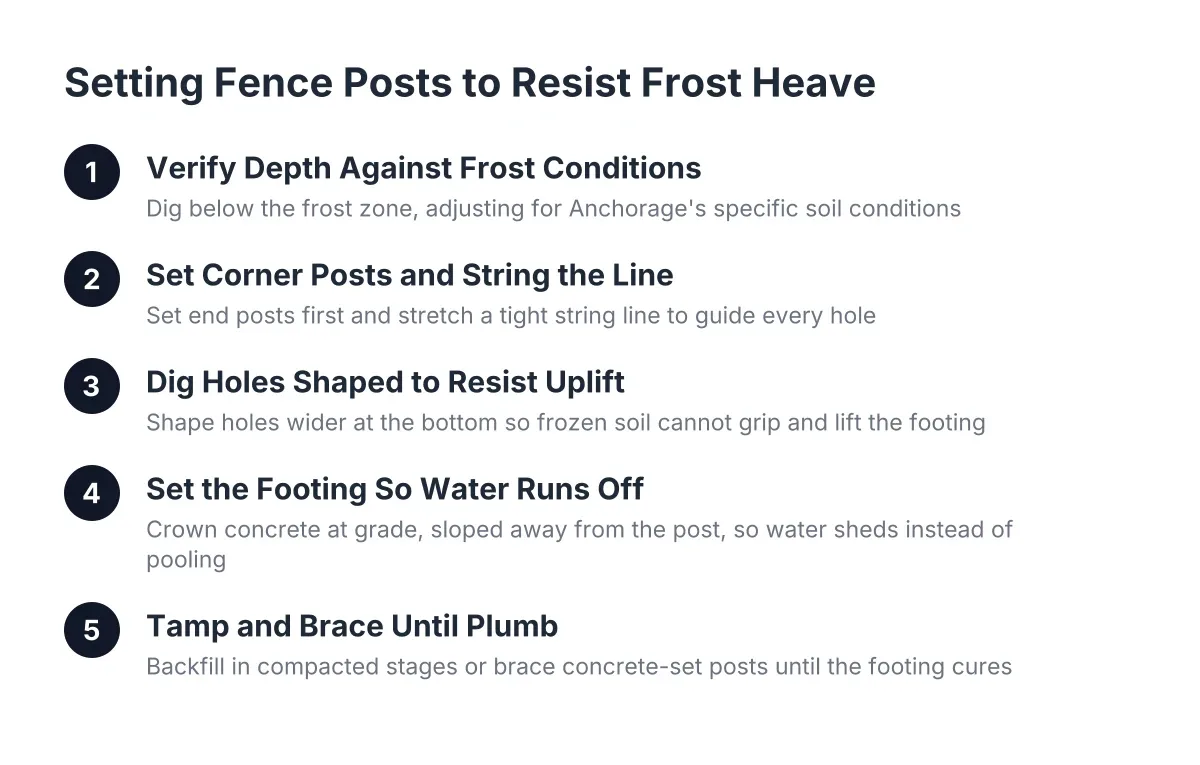
Step 1: Verify Depth Against Anchorage Frost Conditions
Start by confirming how deep the post holes need to go for your ground. For reference, Anchorage's building code amendment sets the minimum exterior footing depth at 42 inches below finished grade for frost protection, according to PermitsGuide.com. Fence posts are not foundations, but that figure tells you how deep frost reaches in this ground. Treat it as the planning benchmark, not a number to shave.
A professional crew digs to suit the site, not a national guide written for Ohio. Soil in an older in-town Anchorage lot behaves differently than glacial till on a Meadow Lakes parcel. On acreage with wet, silty, or frost-prone ground, expect the crew to adjust hole depth and footing design hole by hole. This site-specific judgment is a core reason professional installation prevents fence post heave that a one-depth-fits-all approach invites.
Step 2: Set the Corner Posts and String the Line First
Before any production digging starts, a crew sets the posts at both ends of each run and stretches a tight string line between them. Every hole gets dug to that line. This is how a fence stays straight across 300 feet of pasture frontage instead of wandering with the terrain.
On large parcels, this step also catches property-line problems early. Confirm your corners against survey pins or markers before the string goes up. Moving one misplaced corner post is cheap. Moving a finished quarter-mile of fence is not.
Step 3: Dig Holes Shaped to Resist Uplift and Prevent Fence Post Heave
Hole shape matters as much as hole depth. The goal is a footing that frozen soil cannot grip and lift. A good crew digs holes with straight or slightly belled sides, wider at the bottom than the top where conditions allow. That shape anchors the footing against uplift instead of handing frost a handle.
However, Alaska ground rarely cooperates. Crews hit cobbles, roots, buried debris on older lots, and groundwater on low acreage. Professionals carry the tools to deal with each, and they know when a hole needs to move a few inches rather than get forced. Watch for a crew that stops and solves problems instead of settling a post in a compromised hole.
Step 4: Set the Footing So Water Runs Off, Not In
This is the step where most DIY and cut-rate fences fail. The most common shortcut is pouring concrete to a couple inches below grade, then topping the hole with dirt or sod to make it look tidy. That dirt pocket holds water against the post right at ground level. Ground level is exactly where wood posts rot first, even on fences that get repainted and maintained for years.
A proper footing does the opposite:
- Concrete comes to grade or slightly above it.
- The top of the footing is crowned, sloped away from the post on all sides.
- Water sheds off the footing instead of pooling where the post enters it.
Therefore, when you check the work, look at the top of each footing. If you see sloped concrete shedding water away from the wood, the post has a fighting chance at a long life. If you see dirt against the post at grade, you are looking at the future failure point.
Step 5: Tamp and Brace Until Every Post Is Locked Plumb
Where posts are set with compacted backfill instead of full concrete, tamping is everything. Loose compaction is the main reason posts work loose over time under wind and water loads. A crew backfills in stages, tamping each layer firmly before adding the next, checking plumb as they go. A post tamped in one lazy pass will wiggle free within seasons.
Concrete-set posts get braced plumb and left alone until the footing cures. Rushing panels onto green footings twists posts out of plumb before they ever see a winter. Ask your installer how long posts sit before rails and panels go on; a clear answer is a good sign.
How Professional Installation Prevents Fence Post Heave Over the Long Run
Depth, footing shape, drainage, and compaction work together. Miss any one and the others cannot fully compensate. This is why professional installation prevents fence post heave in a way that patching symptoms later never will; a heaved post cannot be fixed by pushing it back down. The fix is pulling it, re-digging, and resetting, which costs more than setting it right the first time.
The market reflects this. According to Houzz, professional hiring for outdoor renovation projects reached 71% of homeowners in the 2026 U.S. Houzz Outdoor Trends Study, up from 65% in 2024. Homeowners are doing the math on failed DIY work and deciding the crew is the cheaper path over ten years.
That said, there are honest trade-offs. If a few posts on an otherwise sound fence have rotted, an interim repair that preserves the existing concrete footings can keep the fence standing. That repair cost effectively rolls toward a future full replacement, which is a reasonable move when the budget is tight this season. A professional can tell you whether your fence is a repair candidate or past that point.
What This Means for Your Budget
Wood costs more than chain link up front. Installing a wood fence typically runs 20% to 30% more than a comparably sized chain-link fence, according to Angi. Angi also puts chain link at $1,300 to $3,540 total for a typical project, against $1,790 to $4,560 for a similar wood fence. For long rural runs, that gap per foot adds up fast, which is one reason many acreage owners mix materials: cedar fence near the house, chain link fence on the back line.
For example, suppose a homeowner in Knik-Fairview needs about 600 feet of perimeter fence before winter. In that scenario, the labor to dig, set, and footing 70-plus posts correctly is the largest cost driver, and it is also the part that determines whether the fence survives winter without post heave. Cutting post work to save money on a run that size saves the least and risks the most. Exact numbers depend on access, soil, gate installation, and clearing, so treat any figure as a starting range for a fence estimate conversation, not a quote.
Final Checks Before the Crew Leaves
Walk the line with your installer and confirm these items on wood fence installation work before signing off:
- Every post is plumb, and the line is straight against a sighted string.
- Footing tops are crowned and shed water away from each post; no dirt sits against wood at grade.
- Posts are at consistent height; a post standing tall usually means it was not set deep enough.
- Gates swing freely and latch cleanly, with gate posts set as deep as or deeper than line posts.
- You know the cure and stain timeline, and what first-winter movement, if any, to report.
A wood fence in Anchorage lives or dies at the post line. Get the posts right, and the pickets, rails, and gates will do their job for years of snow load and freeze-thaw cycles. Get them wrong, and no amount of staining will save the fence above them.
If you need fence installation in Anchorage, AK, Anchorage Fence Co can help.
Prefer to talk it through? Call (907) 312-2862 — a quick call is usually the fastest way to get a straight answer for your situation.