Wood Fence Installation Steps: From Survey to Final Gate in Anchorage
If a snow-loaded panel just flattened part of your fence, or you manage a property where a whole run needs to come out, it helps to know what a proper rebuild looks like. This guide walks through the wood fence installation steps a competent crew follows in Anchorage, from the property survey to the final gate hinge. Knowing the sequence helps you judge whether the job you are being quoted is a quick repair, a section replacement, or a full install done right for Alaska ground.
The order matters here more than in most places. Anchorage soil moves with frost heave, panels carry heavy snow load all winter, and the digging season has a hard end date. A crew that skips a step in September often hands you a leaning fence by April.
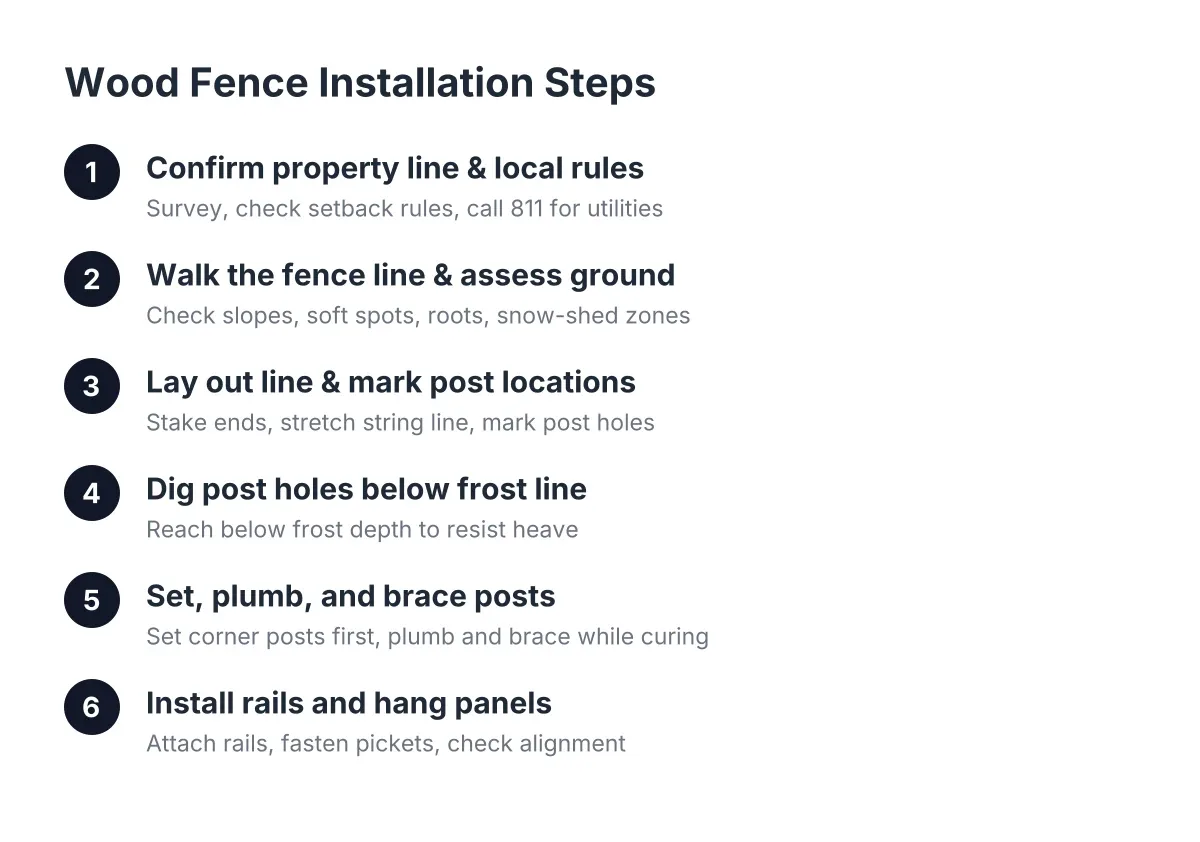
Step 1: Confirm the Property Line and Check Local Rules
Start with the survey, not the shovel. A wood fence built even a foot over the line can turn into a dispute, and a tear-out costs far more than a survey. Pull your plat or as-built, and if the pins are buried or missing, have a surveyor locate them before anyone digs.
Next, check Anchorage fence height and setback rules for your lot. Front yards, corner lots, and sight triangles near driveways all carry restrictions. HOA covenants may add their own limits on height and fence designs. Wood privacy panels get the most scrutiny because they block sightlines.
Finally, call 811 to have underground utilities located. This is free, it is required before digging, and it takes a few days. On older in-town Anchorage lots, buried lines do not always run where you would expect, so never assume.
Step 2: Walk the Fence Line and Assess the Ground
Before any material gets ordered, walk the full run and note what the ground will do to the fence. Look for:
- Slopes and grade changes that force stepped or racked panels
- Soft, wet, or peaty spots where posts need extra attention
- Tree roots, large rocks, and old concrete footings from a previous fence
- Snow-shed zones under rooflines where plowed or sliding snow will pile against panels
- Gate locations, which need the strongest posts on the run
This walk is where repair-versus-replace gets decided too. Say a homeowner in South Anchorage has three panels flattened by a winter storm. If the posts are still plumb and solid in the ground, that is likely a panel repair. If the posts snapped at grade or heaved out of plumb, the damaged section usually needs new posts set to proper depth, which follows the same wood fence installation steps as a new install.
Step 3: Lay Out the Line and Mark Post Locations
Set the layout before digging a single hole. The standard method is to place stakes at both ends of each run, then stretch a string line between them. Every post hole gets marked along that string, so the finished fence runs straight instead of wandering.
Spacing depends on your panel width and fence design. Mark the corners and gate posts first, then divide the runs. Here is a detail that separates tidy work from sloppy work: when a run will not divide evenly into full panels, plan the cut or shortened section for the least visible stretch of the yard. Full panels go where people see them, along the street or facing the deck.
Get the most visible end of the layout exactly right. Small adjustments can be absorbed at the far end where nobody looks closely.
Step 4: Dig Post Holes Below the Frost Line
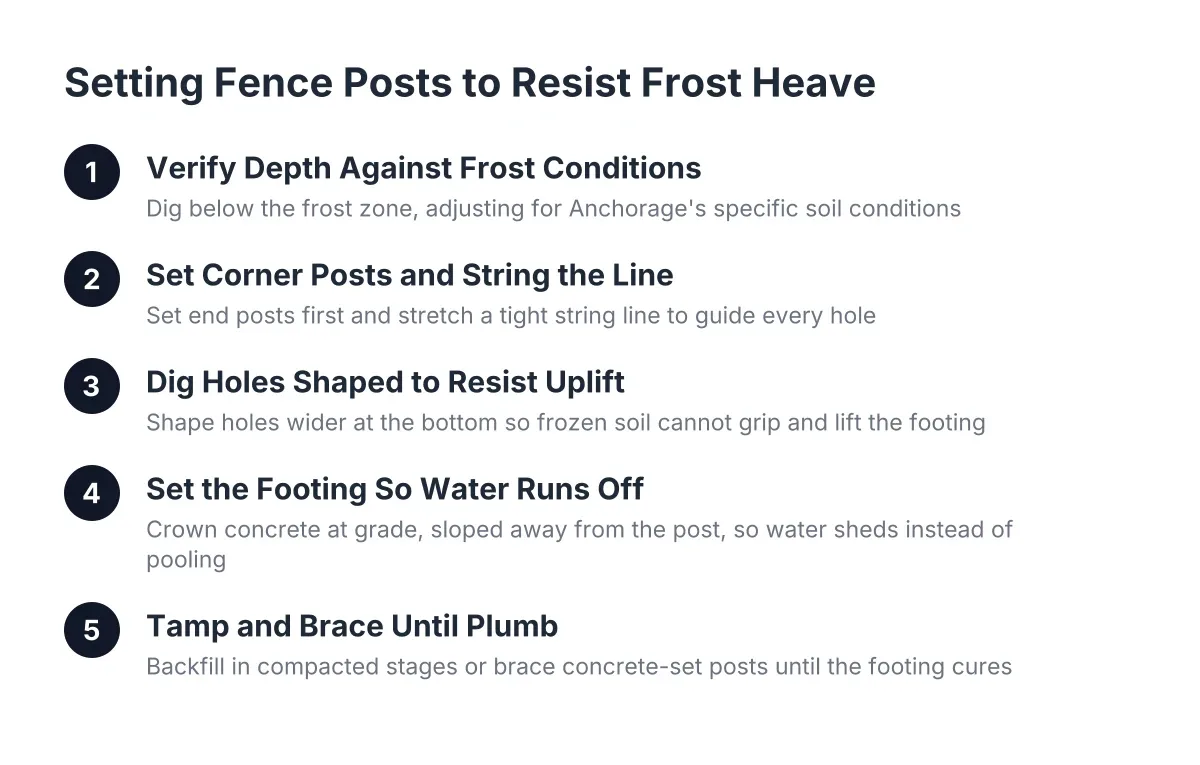
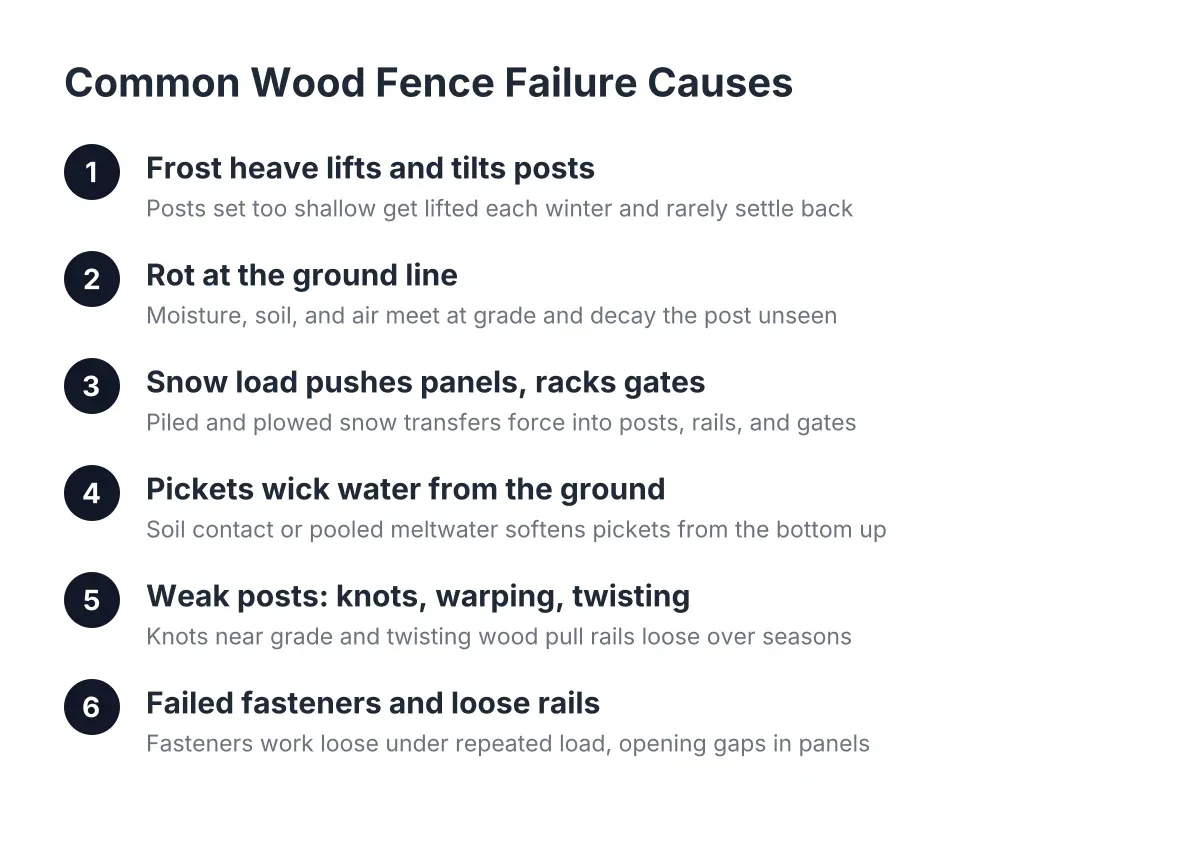
This is the step that decides whether your fence survives Anchorage winters. Frost heave happens when the ground freezes, expands, and pushes shallow footings upward. A post set too shallow can lift a little each winter until the fence leans, the gate drags, and panels pop their fasteners.
Therefore, holes need to reach below the local frost depth for your soil, with a shape and base that resist lifting. Depth requirements vary by site, so treat frost depth as a condition to plan around with your fence company, not a number to guess at. Gravel at the base helps water drain away from the post instead of freezing around it.
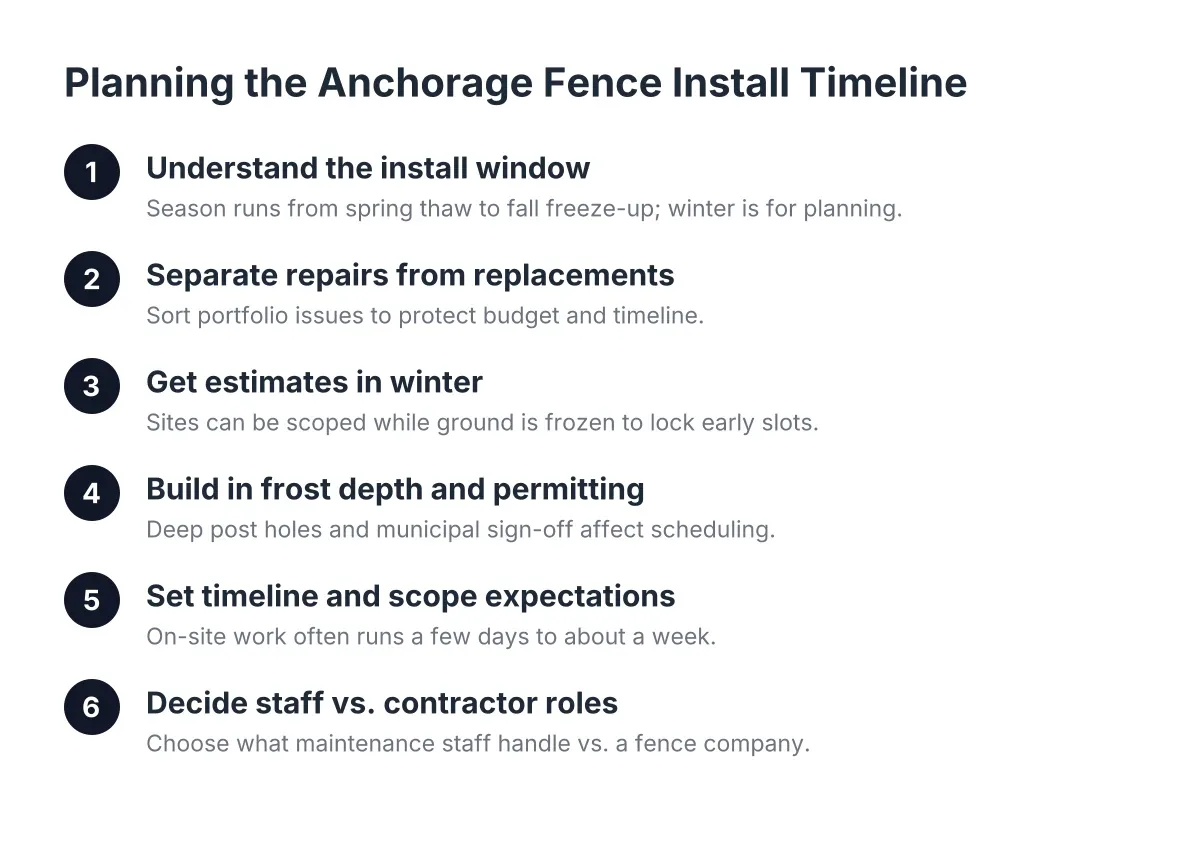
Timing matters too. Once the ground freezes hard, digging gets slow and expensive. Most Anchorage wood fence installation work gets scheduled so posts are in the ground well before deep winter.
Step 5: Set, Plumb, and Brace the Posts
Set the end posts and corner posts first, then run your string line between them at the planned fence height. Every intermediate post gets set to that line, plumbed in both directions with a level, and braced while the concrete or backfill cures.
Do not rush this. A post that cures a half inch out of plumb telegraphs that error across the whole panel. Gate posts deserve extra attention; they carry the swinging weight of the gate plus whatever snow load piles against it, so they are typically set deeper or heavier than line posts.
In tricky spots, such as butting against a neighbor's existing fence or working around a mature tree, a reinforced post can solve what a standard set cannot. This is one place where a professional earns the fee.
Step 6: Install Rails and Hang the Panels
With posts cured, the rails and panels go up. For stick-built fences, bottom and top rails attach to the posts first, then pickets fasten to the rails one at a time. For pre-built panels, each section lifts into place between posts.
However you build it, check alignment before fastening. Lift each new panel and confirm its picket tops sit level with the previous section. Catching a misalignment at panel three is a five-minute fix; catching it at panel twelve means tearing back half the run.
On sloped Anchorage lots, panels either step down in even increments or rack to follow the grade. Stepped panels leave triangular gaps at the bottom, which matters if the fence is containing a dog. Racked or stick-built sections follow the ground tightly, which is the better choice for pet containment after storm damage.
Wood Fence Installation Steps for Handling Corners and Cut Sections
Where a full panel will not fit at a corner or end of a run, measure the remaining gap and cut a section to size. Adding a picket at the corner hides the cut edge, so the shortened section reads as intentional rather than patched. Small finishing moves like this are most of the difference between fence designs in wood that look custom and ones that look rushed.
Step 7: Hang Gates and Add Hardware
Gates fail first on most wood fences, so install them last and install them carefully. Hinges mount to the gate post, the gate gets shimmed level in its opening, and the latch sets at a comfortable height. A diagonal brace or tension cable keeps the gate from sagging over time.
In addition, think about winter operation. A gate that clears the ground by a hair in August will freeze into the first real snowfall. Leave working clearance, and plan where shoveled snow will go so it does not sit against the gate all season.
Step 8: Finish, Clean Up, and Plan First-Year Maintenance
Cedar fence material weathers to gray on its own, but a stain or sealer applied after the wood dries extends its life in freeze-thaw conditions. Backfill gets tamped and graded so water drains away from the posts. A good crew hauls the old fence debris; if you are doing demolition yourself, pull the rails first so the panels stack and carry out easily before you fight the posts.
Walk the finished line before the crew leaves. Check that posts are plumb, panel tops align, gates swing and latch, and the fence sits on your side of the pins. Then plan a first-spring check, because the first freeze-thaw cycle reveals any post that wants to move.
Common Questions About the Wood Fence Installation Process
How long does it take to install a wood fence in Anchorage?
A straightforward residential wood fence in Anchorage typically takes a few days to about a week of on-site work: one stretch for layout and post setting, cure time for the concrete, then a day or two for panels and gates. Permitting, surveys, utility locates, and material lead times add calendar time before the crew ever arrives. Storm-damage section replacements move faster since only part of the run needs new posts.
Can I install a wood fence myself or should I hire a professional?
A capable homeowner can handle a short, flat run of wood fence with rented augers and patience. The hard parts in Anchorage are digging to proper depth before freeze-up, setting posts that resist frost heave, and building gates that still work in February. For long runs, slopes, commercial sites, or a fence that failed once already from snow load, hiring a fence company that builds for local ground conditions usually costs less than redoing a heaved DIY install.
Is wood the right choice compared to chain link?
Wood costs more than chain link for the same footage; according to Angi, installing a wood fence typically runs 20% to 30% more than a comparably sized chain-link fence. Chain link averages $10 to $40 per linear foot installed, according to HomeGuide. For a property manager securing a storage yard, chain link often wins on budget and snow performance. For privacy on a residential lot, a cedar fence earns its premium. Exact cost depends on length, terrain, access, and gates, so treat these as ranges to discuss on a fence estimate, not fixed prices.
Where the Wood Fence Installation Steps Go Wrong
Most failed fences in Anchorage trace back to three shortcuts: shallow posts that frost heave lifts, no drainage at the post base, and gates built without winter clearance. If you are evaluating bids in 2026, ask each fence company how deep they set posts for your soil, how they handle slopes, and what they do differently at gate posts. The answers tell you quickly who builds for Alaska ground and who follows a generic national checklist.
One honest limitation: no sequence of steps overcomes bad soil on its own. Peaty or saturated ground, steep grades, or a fence that has heaved repeatedly are situations worth a professional site assessment before you commit to a design.
If you need fence installation in Anchorage, AK, Anchorage Fence Co can help.
Prefer to talk it through? Call (907) 312-2862 — a quick call is usually the fastest way to get a straight answer for your situation.