DIY vs. Professional Wood Fence Installation in Anchorage: A Step-by-Step Reality Check
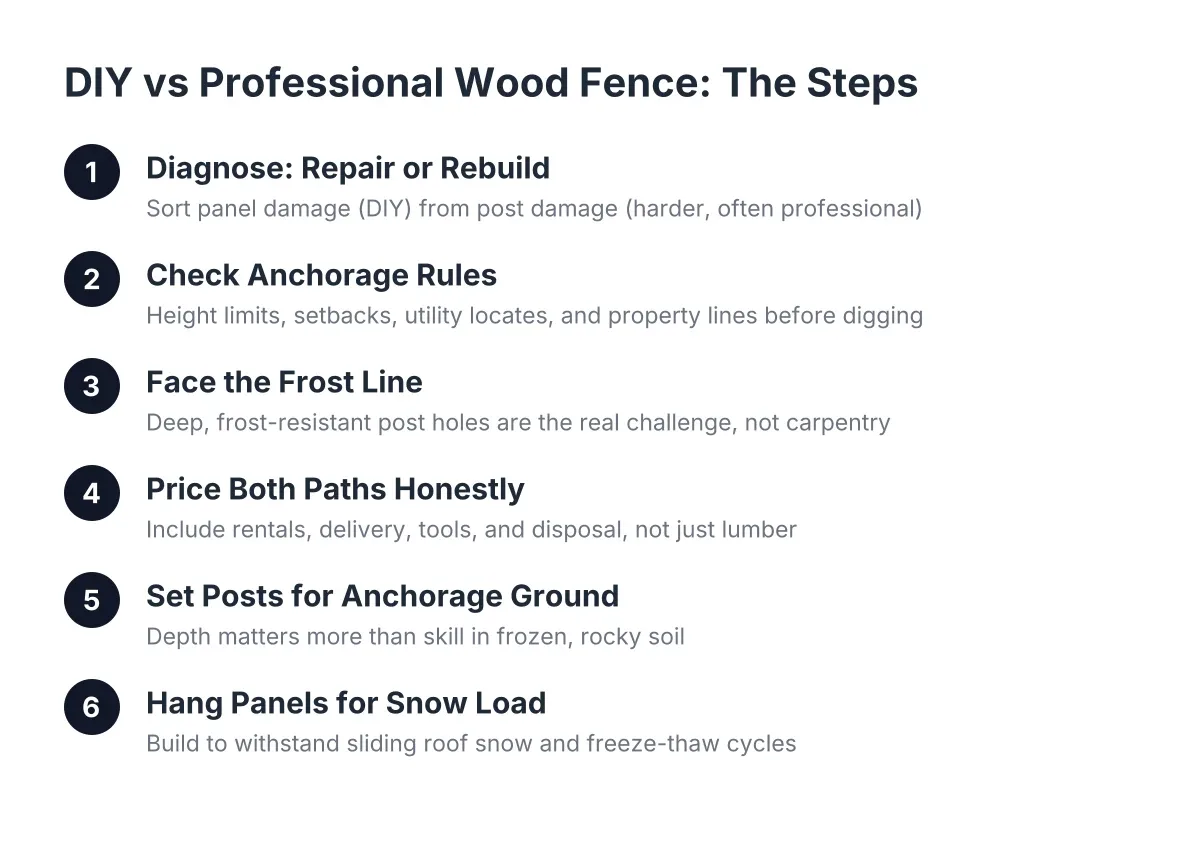
A flattened fence has a way of forcing the question fast. Maybe snow load folded two panels into the yard, or spring thaw pushed a post out of the ground like a loose tooth. Now you are weighing whether to handle the repair as DIY versus professional fence work: grab a shovel and some lumber this weekend, or call a fence company and wait for a crew. In Anchorage, that choice is different than it is in the Lower 48, because the ground itself fights back. This guide walks through the actual steps of a wood fence build, and at each step shows what a homeowner can handle and where the climate stacks the odds against DIY.
Here is the short version. The skills are learnable. The digging is not the hard part; the depth is. Frost heave punishes shortcuts for years, and a fence that looks fine in September can lean by April. Work through the steps below before you commit either way.
Step 1: Figure Out If This Is a Repair or a Rebuild
Before you price lumber or call anyone, walk the fence line and sort the damage into two piles. Panel damage and post damage are different problems with different answers.
Broken rails, cracked pickets, or a panel knocked loose by snow sliding off the roof are panel problems. These are honest DIY territory. If the fence posts are still plumb and solid, swapping pickets or re-hanging a rail is a Saturday job with basic tools.
Post problems are the serious pile. Push on each post near the damage. If it moves at the base, rocks in its footing, or has lifted out of line with its neighbors, the ground has done its work. A heaved or rotted post cannot be fixed from the top. It has to come out, footing and all, and that is where the DIY math starts to change.
One useful middle path exists. If a wood post snapped but the concrete footing is still sound and seated, an interim post repair that preserves the footing can keep the fence standing. That buys time, and the money spent is not wasted if a full fence replacement comes later.
Step 2: Check Anchorage Rules Before You Dig Anything
Height limits and setbacks come first, not last. Anchorage Municipal Code sets front-yard residential fence height limits at 4 feet in most zones, with allowances up to 6 feet, or 8 feet for non-sight-obscuring fencing like chain link, in R-6, R-8, and R-9 districts, according to the Municipality of Anchorage. Build a 6-foot privacy fence in a 4-foot front-yard zone and you may be tearing it down later.
Next, call for utility locates before any digging. This is free, it is required, and hitting a gas or electric line turns a fence project into an emergency. A professional crew handles locates as routine. A DIY builder sometimes skips it to save a few days, which is the wrong corner to cut.
Also confirm your property line. Older in-town Anchorage lots often have fences that wandered off the line decades ago. Rebuilding on the wrong line creates a neighbor dispute on top of a fence project.
Step 3: Face the Frost Line—The Critical Difference Between DIY and Professional Fence Work
The frost line is where a DIY versus professional fence comparison stops being about skill and starts being about ground conditions. Anchorage soil freezes deep, and every freeze-thaw cycle grabs anything shallow and lifts it. For reference, Anchorage's building code amendment sets the minimum exterior footing depth at 42 inches below finished grade for frost protection, according to PermitsGuide.com. Fence posts are not footings, but that figure tells you how seriously this ground treats depth.
Here is what that means with a shovel in your hands. A post hole deep enough to resist frost heave in Anchorage is a real excavation, often through rocky glacial till, roots, or soil that is still frozen in late spring. A rented one-person auger stalls in this ground. Crews run heavier equipment because the ground demands it, not because it looks professional.
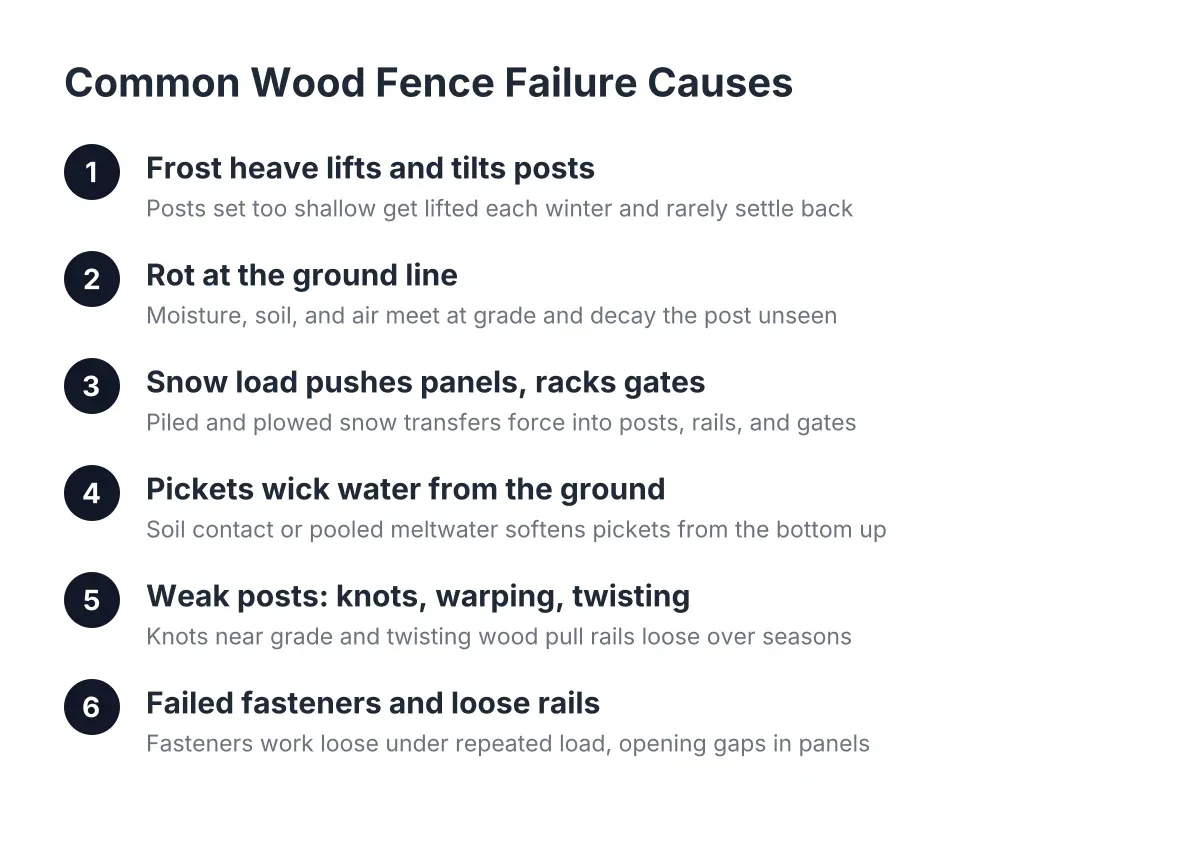
Shallow posts are the single most common DIY failure here. The fence stands straight the first winter, then heaves. By the second spring the gates drag, the line waves, and the fix is pulling posts and starting over. Therefore, if you take nothing else from this article, take this: in Anchorage, post depth is the job. Everything above grade is carpentry.
Step 4: Price Both Paths Honestly
Run the numbers for both options before deciding, and include the costs DIY estimates usually skip. For context on materials, wood runs higher than other fence types. According to Angi, installing a wood fence typically costs 20% to 30% more than a comparably sized chain link fence, averaging around $3,100 more.
A realistic DIY budget includes more than pickets and posts:
- Lumber, concrete, fasteners, and gate hardware
- Auger or mini-excavator rental, often for more days than planned
- Delivery fees for lumber and concrete
- Tool purchases you do not already own, such as a post level and a long masonry bar
- Disposal of the old fence and spoils from the holes
- Your weekends, and in Anchorage the install season is short
Suppose a homeowner in a newer Anchorage subdivision needs about 120 feet of 6-foot cedar privacy fence after winter crushed the old one. In that scenario, a careful DIY materials-and-rental budget might land in the low thousands, while a professional install could run several thousand more depending on terrain, access, and gate count. The gap is real. The question is whether the gap covers the risk of redoing heaved posts, and that is a cost-factor conversation to have with any fence estimate, not a number to guess at.
One more pricing note. Fence quotes vary because construction practices vary. Board-on-board and other custom wood fence ideas take more picket material and more labor than a flat-face privacy fence, so they cost more for honest reasons. The cheapest bid is often the one that skimps on depth or material, and a fence rebuilt in five years costs more than one built right once.
Step 5: Set Posts the Way Anchorage Ground Demands
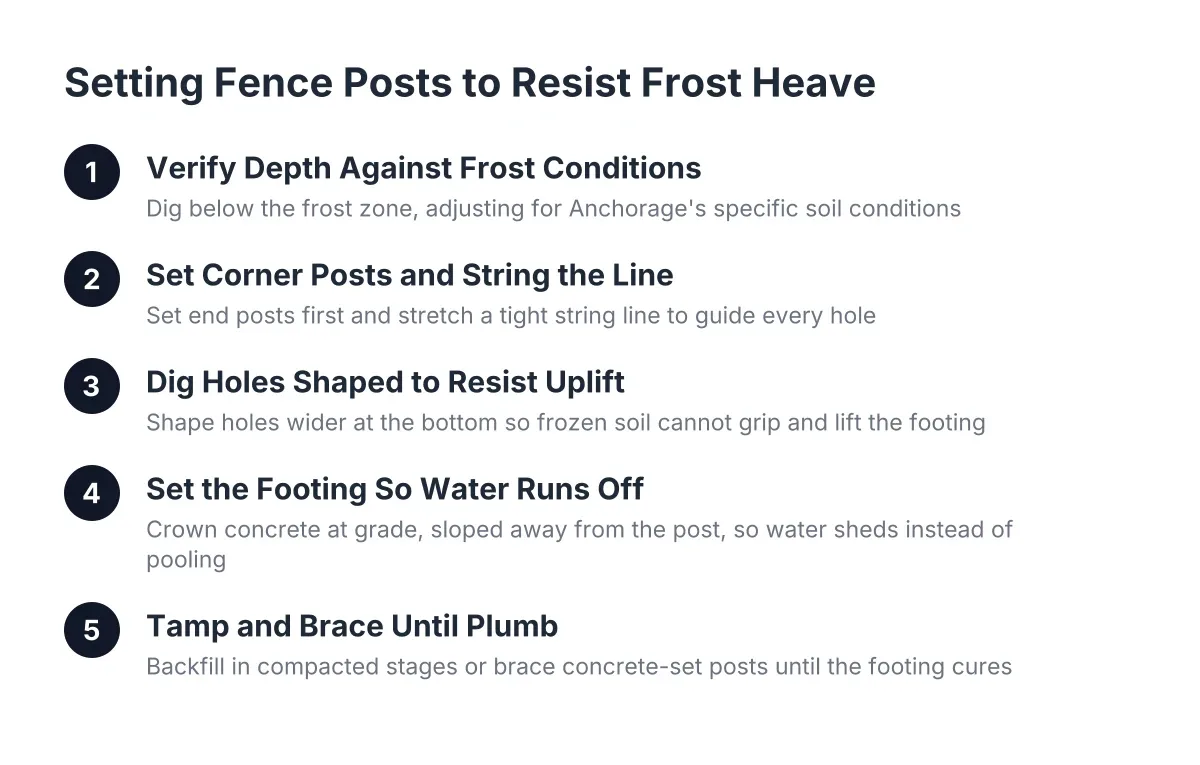
If you proceed with DIY, this step deserves most of your effort. Dig every hole to full depth, below the zone where freezing soil can grip the footing. Bell the bottom of the hole slightly wider than the top so frost cannot push the plug upward. Keep concrete below grade and slope the top away from the post so water sheds instead of pooling against the wood.
Wood posts are the system's weak point over time. They warp, twist, and rot at the ground line even when the panels above get repainted on schedule. Pressure-treated posts rated for ground contact are the minimum. In tight spots, such as butting against a neighboring fence or working around a tree, a reinforced steel post with the wood boxed around it holds a line that a wood post alone will not.
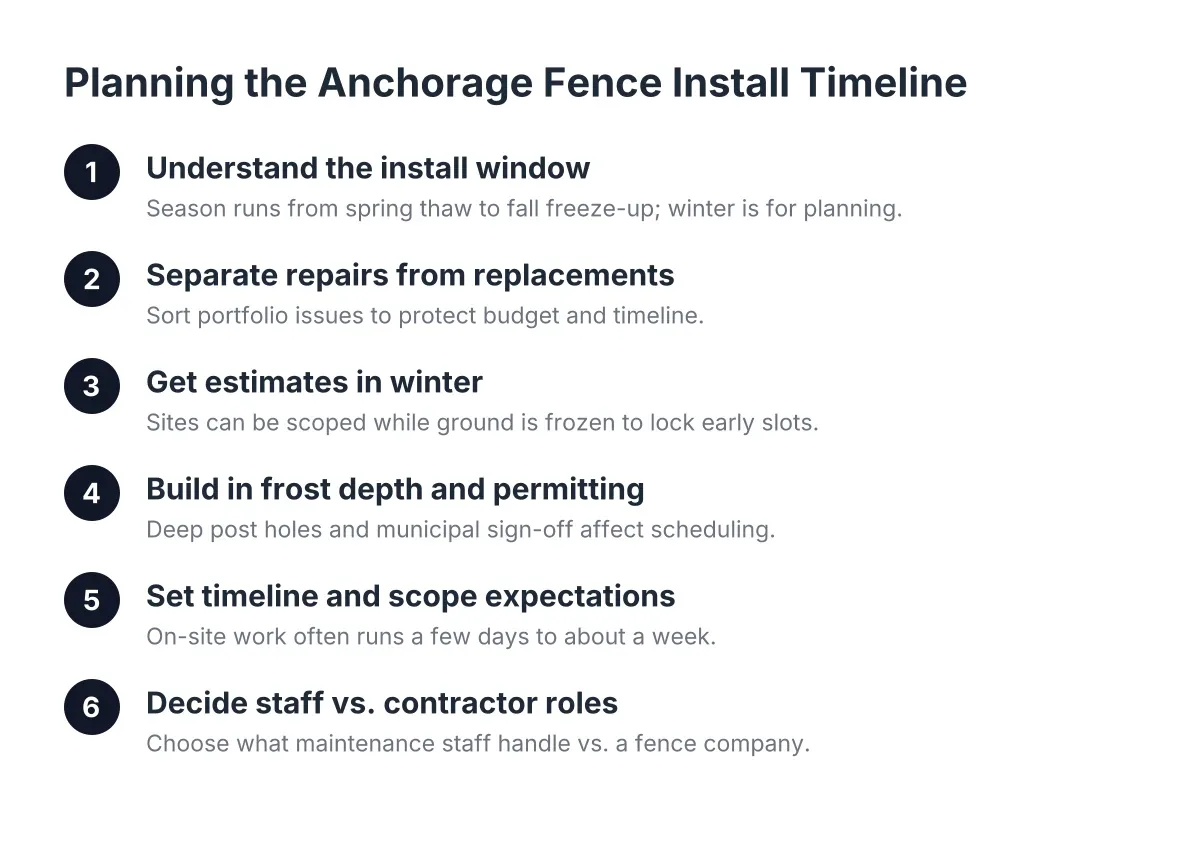
Timing matters as much as technique. Post holes need to go in before the ground freezes for the season. A DIY build that stalls in October may sit as a row of open holes until May. A crew that sets posts in a day or two does not carry that risk.
Step 6: Hang Panels With Snow Load in Mind
Panels are the satisfying part, and the part where DIY skill shows. However, Anchorage adds one design constraint most national guides ignore: snow load. Snow sliding off a roof or piled by a plow pushes sideways against solid privacy panels all winter. Rails need solid attachment at every post, and panel bottoms should sit a few inches off grade so snow and meltwater do not soak the pickets from below.
Plan panel layout before the first board goes up. On runs with mixed full and cut sections, put the cut or shortened sections in the least visible corners and keep full panels along the street and entry views. It costs nothing and it is the difference between a build that looks planned and one that looks patched.
Gates deserve extra structure. A sagging gate is the first thing winter breaks and the first thing visitors touch. Diagonal bracing, heavy hinges, and a gate post set deeper than line posts are worth the added hour.
Step 7: Decide Where DIY Wood Fence Work Ends and Professional Work Begins
Pulling the steps together, here is a fair split for an Anchorage homeowner. A confident DIYer can replace pickets, re-hang rails, rebuild a gate, and even run a short section of new fence where the posts are already sound. That work is above grade, forgiving, and fixable.
Professional work starts below grade. Full-depth post setting in frozen or rocky ground, long fence lines, slopes, replacements where every post heaved, and any job on a construction deadline belong with a crew. For the homeowner coordinating fencing with a builder or landscaper on a new build, the DIY versus professional fence schedule alone usually settles the question; the fence has to land in a specific window, and a weekend-by-weekend build cannot promise that.
There are also judgment calls worth a professional's eyes even if you build it yourself. Soil that stays saturated, a fence line near a retaining wall, or a property line dispute are all situations where a short consultation beats a confident guess. Wood fence installation done right in this climate is mostly decisions made before the first board goes on, and those decisions are cheap to get help with and expensive to get wrong.
The honest trade-off runs both ways. DIY saves real money and some homeowners enjoy the build; a crew cannot give you that. What a professional install buys in Anchorage is depth, speed inside a short season, and posts that stay put through the freeze-thaw cycles that quietly wreck shortcut fences. Pick based on the ground, not the pickets.
If you need fence installation in Anchorage, AK, Anchorage Fence Co can help.
Prefer to talk it through? Call (907) 312-2862 — a quick call is usually the fastest way to get a straight answer for your situation.